

The Tulip Vest: A No-Bind Sleeve Sewing Hack for a Softer Finish
- Jul 11, 2025
- 2 min read
Discover the No-Bind Sleeve Sewing Hack Method
If you love the look of the Tulip Vest but prefer a softer finish (or just want to skip some of the bias binding), this easy sewing hack is for you.
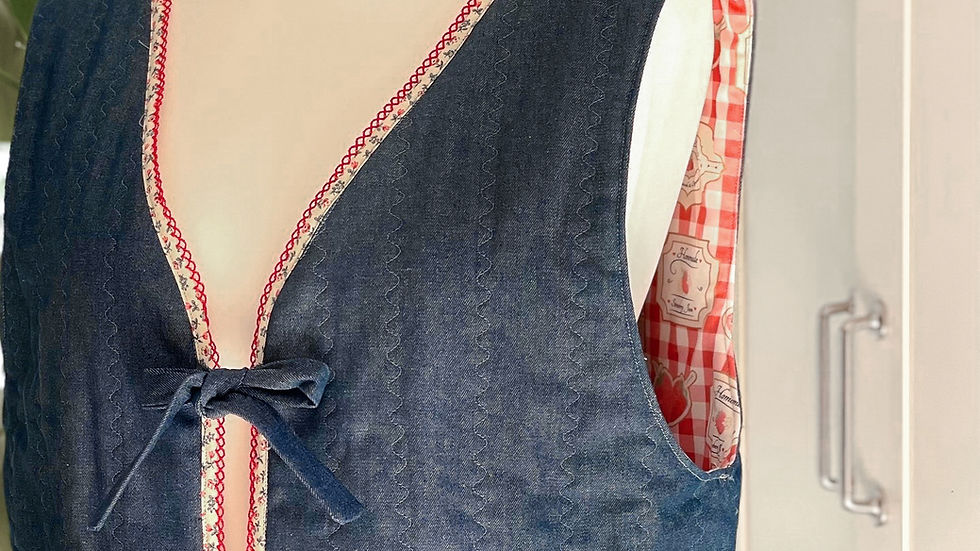
Instead of binding the armholes, we’ll use a 'bagging out' technique with topstitching to finish. Bagging out means sewing the lining and outer fabric together with right sides facing, then turning them right side out so the raw edges are hidden inside. This method is beginner-friendly and still looks polished while being comfortable to wear.
If you're short on binding or just in the mood for a quicker make, the no-bind sleeve method is a great option to try!
Step-by-Step Sewing Instructions
Follow the sewing instructions in the Tulip Vest booklet up to step 13, where we finish making the ties. The vest I have made below hasn't got the pockets or wadding as it is a lightweight version, but this technique does work on thicker vests too. Make sure your vest is quilted and pockets are sewn before carrying on.
Preparing the Vest Pieces
With right sides together, align the front and back vest pieces at the shoulder seams. Pin in place and sew the shoulder seams.

Repeat this process with the lining pieces.
Aligning the Armholes
Open out the lining and outer vest pieces flat on your surface. Place them with right sides together and align the armhole curves carefully. Pin them in place. Sew only around the armholes, leaving the rest of the edges open.
Tip: Carefully clip into the seam allowance around the curve. This will help the seam lie smoothly when you turn the vest right side out next.
Turning the Vest Right Side Out
Turn the vest right side out so the lining sits neatly inside the outer fabric. Gently roll the armhole seams between your fingers to shape them, then press them flat for a smooth finish.
Matching the Side Seams
Turn the vest inside out again so the raw side seams are visible. Match up the side seams of the outer fabric and the lining, placing them right sides together. Ensure the underarm seams line up neatly. Use clips or pins to hold everything in place.
Sew the seams. Then turn the vest right side out and press. Topstitch around the armholes to neaten.
Final Touches
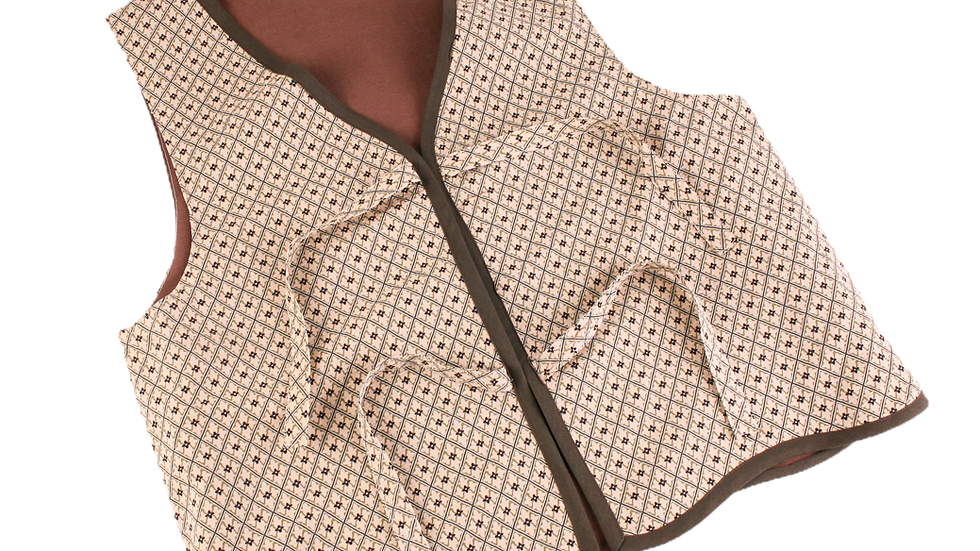
Now you can sew the bias binding around the raw edges of the vest to finish! Remember to attach your ties before doing so. Take your time around the curves and corners, and enjoy seeing your vest come together!
Enjoy Your Finished Vest
🌷 That’s a Wrap! Whether you went for the classic bound edge or tried the no-bind sleeve hack, I hope you love your finished make. It’s the kind of piece that works year-round and showcases your fabric choices beautifully.
If you haven’t got the pattern yet, you can find it right here 👉 The Tulip Vest Sewing Pattern PDF
Happy sewing! Don’t forget to share your make if you're on socials using #TulipVestSewingPattern so I can see!
Kym x
Fabric used - Diamond Flowers Floral Cotton Fabric (affiliate link)


